The Ultimate Guide to Customizing Your Tobacco Display Stand
By admin
Nov 06, 2025
Introduction
If you sell tobacco products, your display stand is more than a shelf — it’s a silent salesperson. A great custom tobacco display stand can increase average order value, protect inventory, communicate brand identity, and keep your store compliant. Conversely, a poor display confuses customers, creates theft risk, and undercuts your brand. This guide breaks down everything you need to design, build, and maintain a tobacco display stand that actually works — from materials and layout to tech add-ons and budget tips.

Why Customize? — Business & Customer Benefits
Customizing gives you control. You tailor the display to your customers, the product mix, and your store’s flow. Key benefits:
- Higher conversions: Thoughtful placement and visibility increase impulse buys.
- Branding: Your stand can carry your brand story — premium, classic, or value-focused.
- Operational efficiency: Custom compartments make restocking faster and mistakes rarer.
- Compliance & safety: Build in space for mandated warnings or locked sections if required.
- Durability: Proper materials reduce replacement costs and keep displays looking professional.
Know Your Constraints: Rules, Space, & Inventory
Before you sketch a single line, understand the real constraints.
Regulatory considerations (warnings, placement)
Laws vary: some jurisdictions require health warnings, limit product visibility to minors, or restrict promotional signage. Make your design flexible so you can add mandated labels or hide certain items when required.
Space and sightlines in-store
Is your counter crowded? Do customers approach from one side? Will the display block sightlines to the register? Measure the physical space and customer sightlines before choosing a design.
Inventory types and SKU density
Are you stocking slim cigarette packs, long cigars, shotgun-format pouches, or e-liquids? Different product types demand different shelving, dividers, and spacing.
Define Your Goals: Sales, Branding, Convenience
All great displays begin with a simple question: what do you want this display to achieve?
- Maximize impulse purchases? Use countertop or point-of-sale displays with bold promos.
- Showcase premium products? Use glass-fronted, well-lit shelving with premium materials.
- Speed up service? Create a system that makes SKU lookup quick for staff.
- Reduce theft? Incorporate lockable sections and smaller visible footprints.
Clarity on goals helps prioritize design choices and budget.

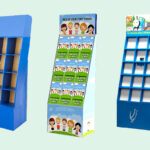
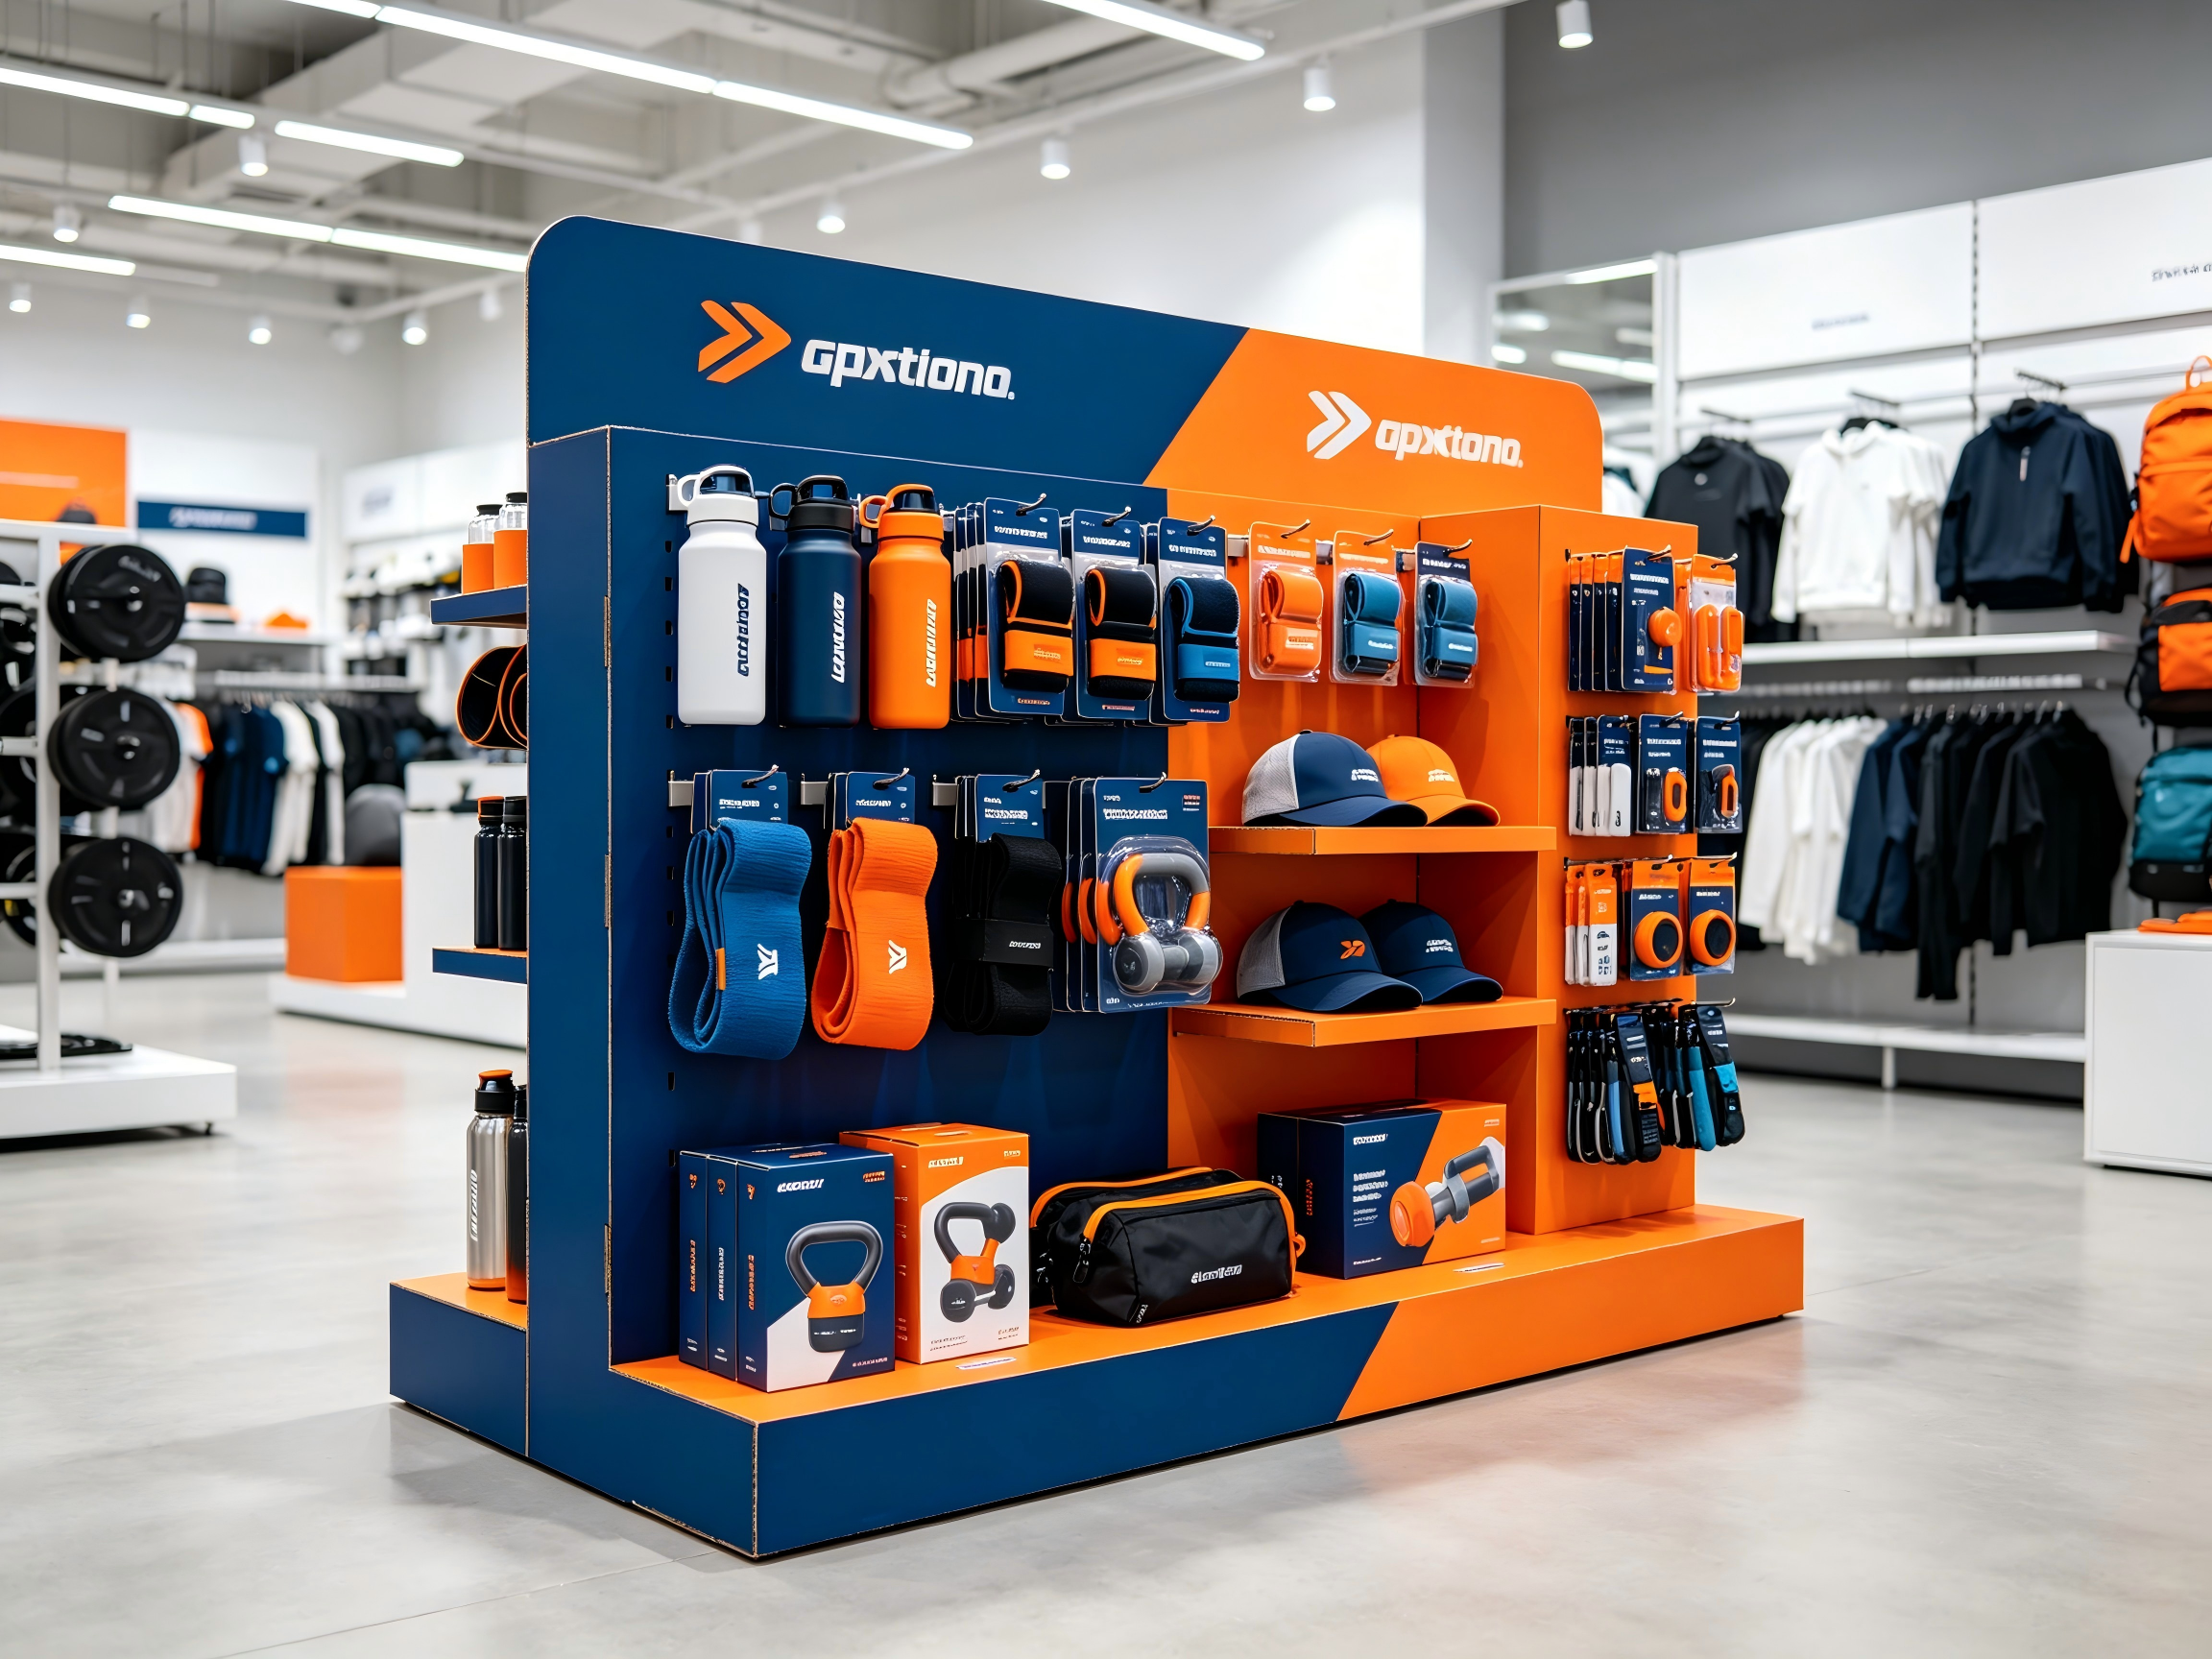
Choosing the Right Type of Display
Pick the physical format that matches your goals and space.
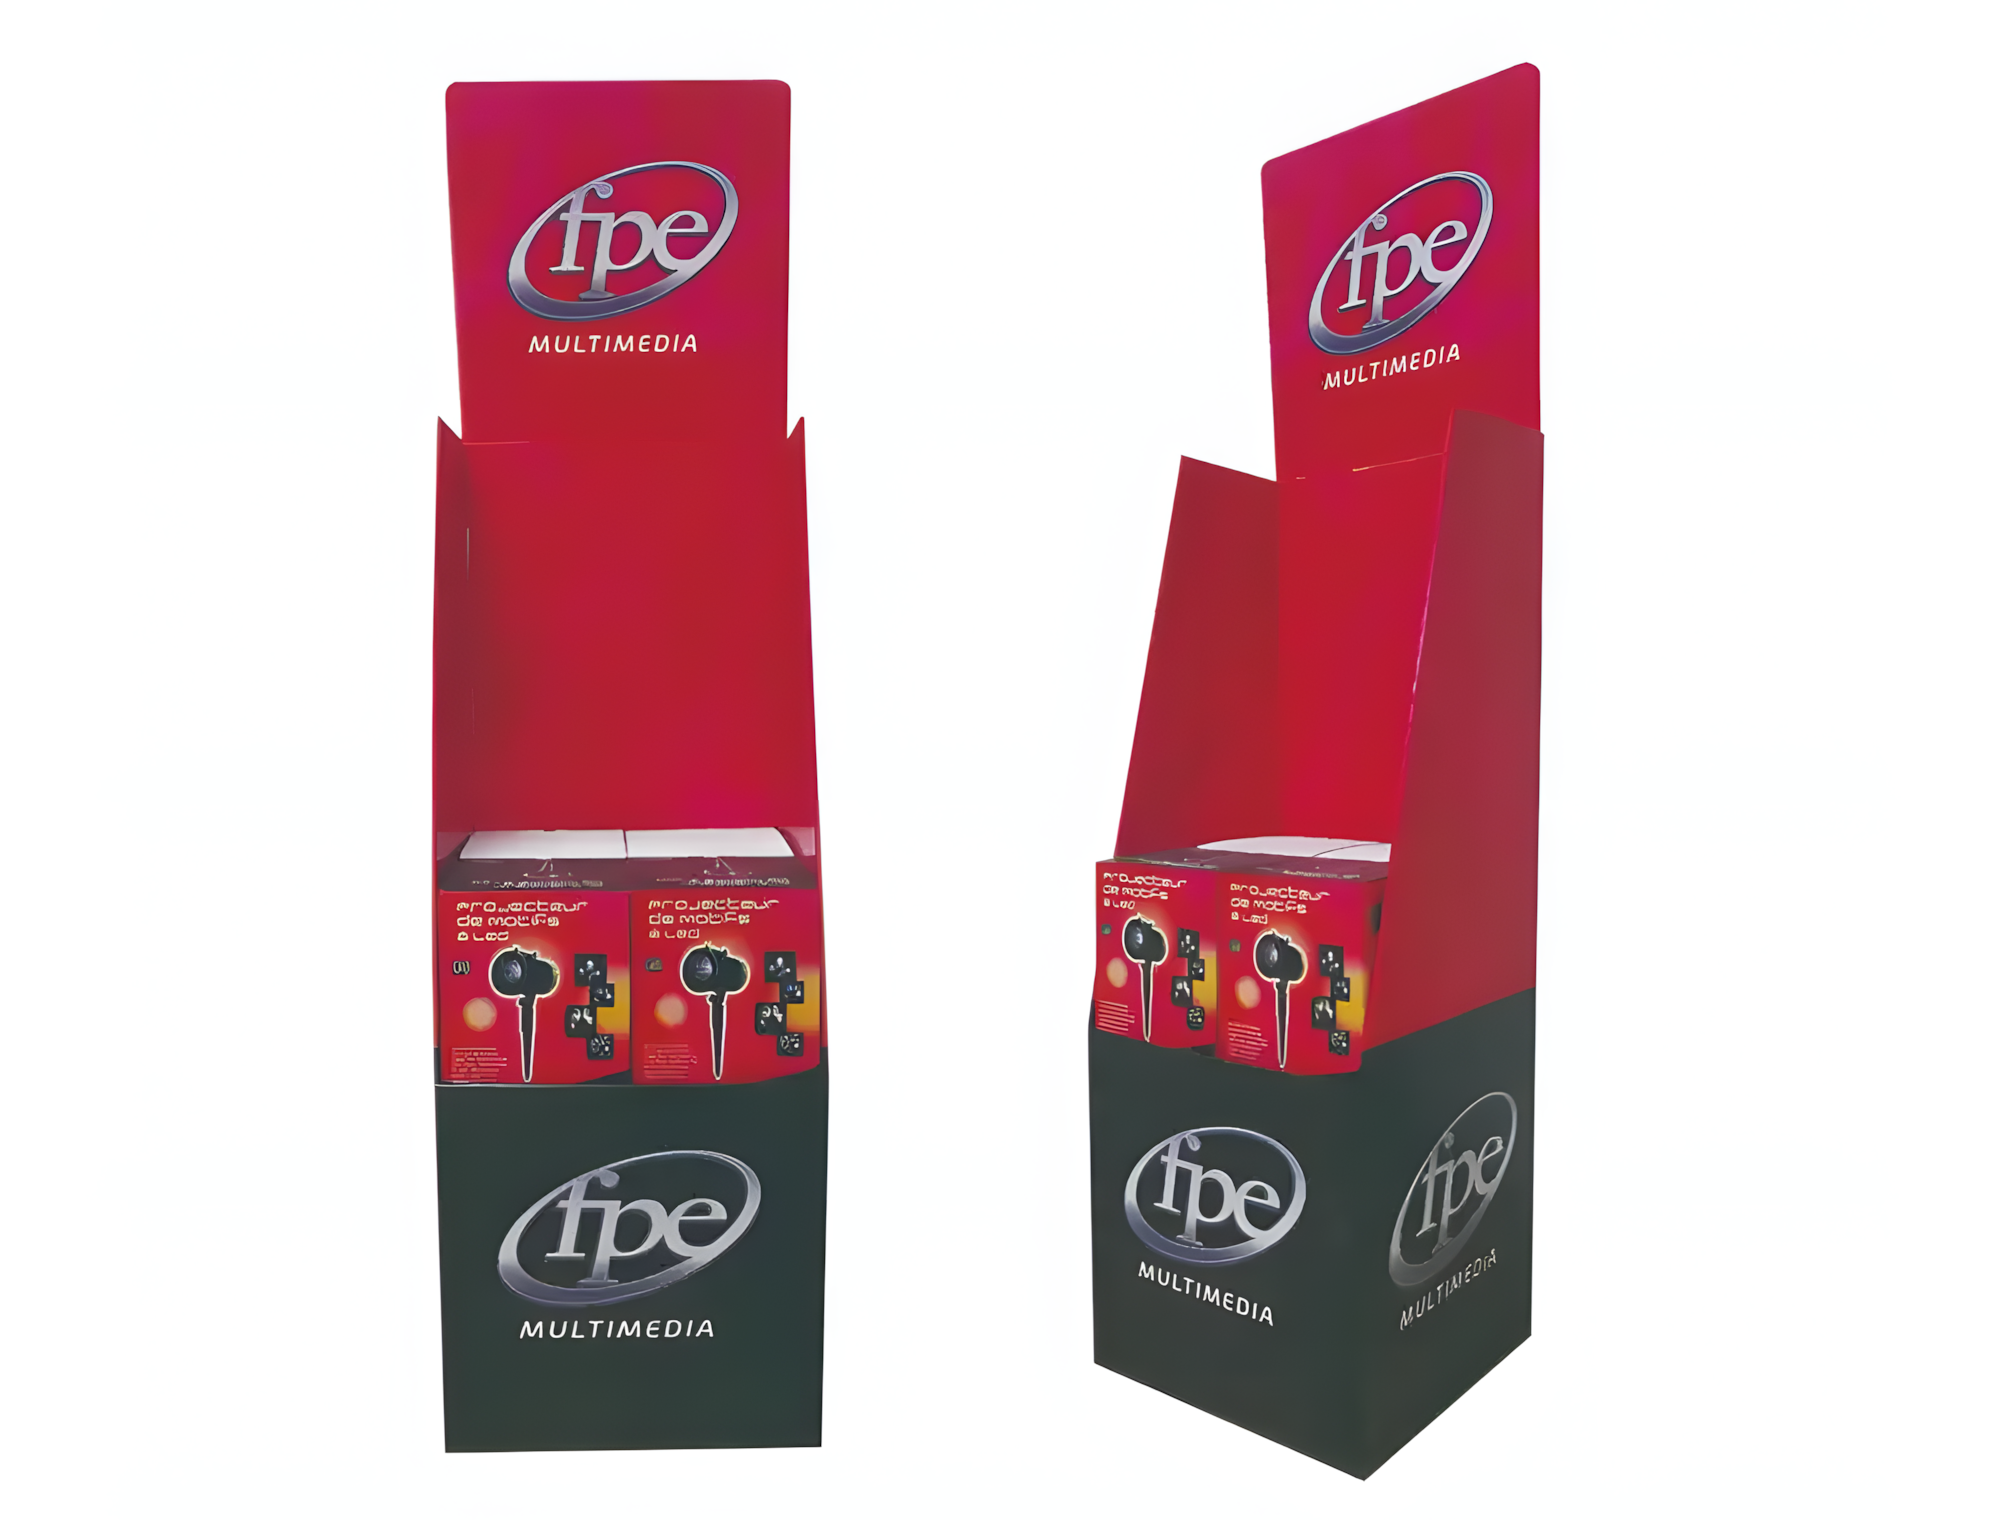
Countertop displays
Perfect for impulse items and small-footprint stores. They sit at eye-level for transactions and are great for promotions. Keep them simple and tidy — clutter kills conversion.
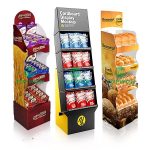
Floor displays (freestanding)
These hold more SKUs and can be placed in aisles. Use them for broader assortments and seasonal pushes. Ensure they don’t obstruct traffic.
Wall-mounted systems
Maximize vertical space and preserve floor area. Good for high-density SKU displays and organized, easy-to-scan layouts.
Modular & mixed systems
Combine countertop modules with wall units for a layered impact. Modularity allows you to swap modules for promotions or inventory changes.
Materials & Construction: Durable + On-Brand
Material choice affects cost, aesthetics, and durability.
Wood
Warm, premium feel; versatile for branding. Can scratch or stain — seal finishes for longevity.
Metal
Industrial, durable, and secure. Great for modern or minimalist brands. Heavier and often costlier.
Acrylic/Plastic
Sleek and lightweight. Excellent for precise dividers and clear visibility, but can crack and scratch.
Glass
Premium look for high-end cigars, but heavy and fragile — best in locked or staff-access cases.
Composites & MDF
Cost-effective and paint-friendly. Good for temporary displays or high-graphic panels.
Eco options
Bamboo, FSC-certified wood, or recycled plastics appeal to eco-conscious customers — sometimes at a premium.
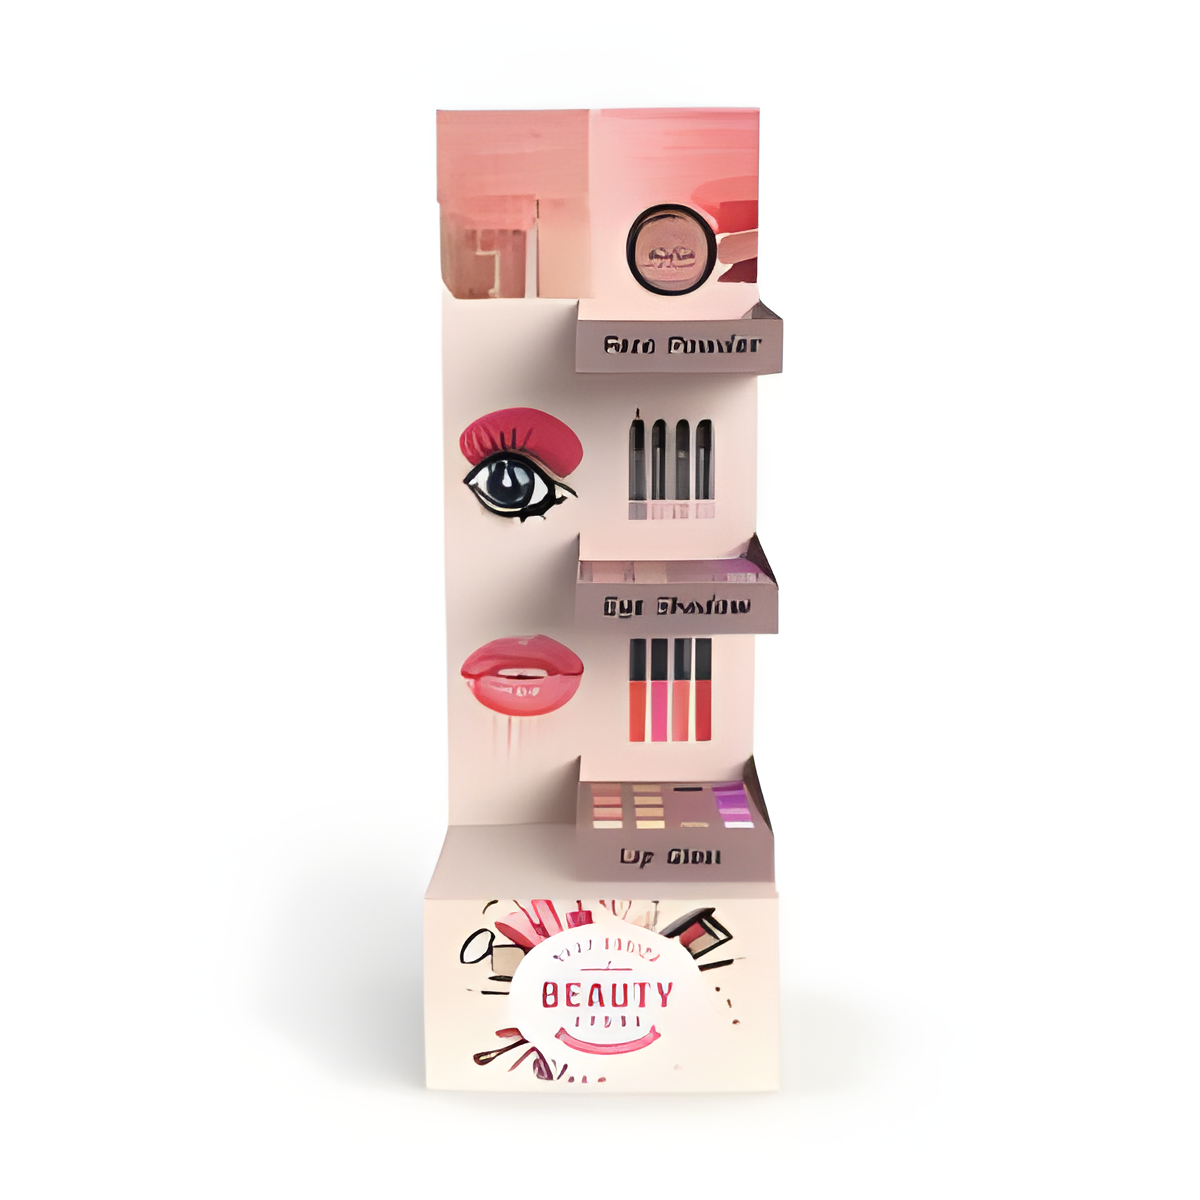
Visual Design Principles That Sell
Design is psychology, not just pretty pictures.
Color psychology & brand coherence
Use your brand palette but remember contrast matters. Eye-catching accent colors (e.g., red/orange) drive attention; muted palettes communicate premium.
Typography, logos, and hierarchy
Large, readable product names and price strips win. Reserve decorative fonts for headers only; legibility at a glance is key.
Use of photography and product imagery
High-quality product shots help customers scan quickly. Avoid cluttered photography — one hero image per section works best.
Functional Design: Layout, Flow & Accessibility
Design for how people actually use the display.
Shelf heights, spacing, and product grouping
Place top sellers at eye level; premium or high-margin products slightly above or at the register. Group similar items together (brand, flavor, size) to make decision-making faster.
Labels, pricing strips, and signage clarity
Consistent label strips, clear pricing, and short product descriptors reduce mistakes. Use contrasting colors and keep fonts legible.
Accessibility for staff & customers
Ensure staff can restock quickly without awkward reaching. For customer-access areas, keep frequently grabbed items within comfortable reach (approx. 40–60 inches from floor).
Security & Loss Prevention
Tobacco products are high-theft items — design accordingly.
Lockable cabinets and secure shelving
For high-value or age-restricted products, add lockable doors. Consider quick-release keys or coded locks for manager access.
Visibility, placement, and camera integration
Put displays in well-lit, visible areas. Plan camera sightlines and pair the stand with a visible camera for deterrence.
Tamper-resistant fixtures
Use screws or tamper-proof hardware on high-risk sections and anchors for floor units to prevent easy removal.
Tech & Interactive Elements
Technology can both inform customers and lift sales.
Digital screens and rotating promotions
Small screens embedded in the stand can show promotions, brand stories, or product details. Rotate creative frequently to avoid “screen blindness.”
QR codes, product info taps, and sampling kiosks
Add QR codes for detailed product specs, age-check pages, or promotions. Touch-screen kiosks can reduce staff workload, but keep them simple for quick use.
Promotions, Cross-sell & Merchandising Tricks
Merchandising is where design meets sales.
Seasonal adjustments and bundle displays
Reserve a modular face for promotions. Holiday bundles or “buy X get Y” offers are great here.
Cross-merchandising with non-restricted accessories
Display lighters, cases, or filters nearby (where legal) to increase basket size without violating rules.
Use of Focal Points
Create a visual focal point (lighting, color block, or hero product) to draw customers in and direct their eye flow.
DIY vs. Professional Fabrication
Both routes have merit — choose with your priorities in mind.
When DIY makes sense
You have a simple idea, tight budget, and basic carpentry tools. Small countertop pieces, branded acrylic dividers, and printed graphic panels are very DIY-friendly.
When to hire a pro and what to expect
If you need precise joinery, integrated locks, digital components, or a multi-store rollout with consistent look-and-feel, hire a manufacturer or retail fixture company. Expect design mockups (renders), prototypes, lead times, and higher upfront cost — but better durability and compliance.
Budgeting: Cost, ROI & Lifespan
Plan smart — a display is an investment.
Upfront vs. lifecycle costs
Cheaper materials may save upfront dollars but cost more over time. Factor in cleaning, repairs, and graphic refreshes.
Metrics to track success (sales lift, turnover)
Track sales by SKU pre/post installation, measure units sold per week, and monitor shrinkage. Small stores may see a measurable lift in impulse categories within a few weeks.
Maintenance & Reconfiguration Tips
A display that looks tired loses credibility — maintain it.
Cleaning, repairs, and modular swaps
Use easy-to-clean finishes. Keep a spare set of shelf clips and graphic panels for quick swaps. Modular inserts allow you to change promotions quickly without rebuilding the whole stand.
Refresh cadence for graphics and promotions
Rotate promotional graphics every 4–8 weeks to keep the display feeling fresh and to highlight new offers.
Case Examples & Mini-Playbook
Want fast wins? Here are practical, replicable setups.
Quick-win design for small shops
Countertop: single-module acrylic display with 3 tiers, a clear price strip, a lockable bottom compartment for high-value items, and a 7–10 inch digital screen showing promos or age-check instructions. Use a bright accent color and one hero brand at eye level.
Scaled solution for multi-store rollouts
Standardize a modular wall system: base cabinet + two interchangeable promo faces + optional digital module. Produce a store manual with restocking SOPs and graphic templates so every location looks consistent.
Conclusion
Customizing your tobacco display stand is both art and engineering. Good design balances visual appeal, durability, compliance, and security — and always keeps the customer journey front and center. Start by defining your goal, measure your constraints, choose the right materials and format, and don’t skimp on security. Whether you DIY a countertop unit or commission a professional multi-store solution, a well-executed display will boost sales, reduce loss, and make your store look sharper. Keep it modular, keep it clean, and keep it aligned with both your brand and the real-world ways customers shop.
Frequently Asked Questions (FAQs)
Q1: What material gives the best balance of cost and durability for a tobacco display stand?
A1: Medium-density fiberboard (MDF) with a laminated finish or powder-coated metal frames with acrylic shelves usually hit the sweet spot. MDF is cost-effective and easy to print graphics on; metal frames add durability and security. Choose finishes that are easy to clean and replace graphic panels rather than rebuild the entire stand.
Q2: How can I make my tobacco display stand compliant with age-restriction laws?
A2: Include clear signage for age restrictions, design features to hide certain products from minors (e.g., behind a counter or locked compartments), and make space for mandated health warnings. For interactive elements, ensure age-gated digital content (e.g., a QR code that prompts age verification) is used responsibly and in line with local rules.
Q3: How often should I change the promotional graphics on my display?
A3: Every 4–8 weeks is a good cadence for most stores — frequent enough to feel fresh but not so frequent that production costs soar. Fast-moving promotions (holidays, new launches) can get shorter display times.
Q4: Are digital screens worth the extra cost?
A4: They can be, if used smartly. Digital screens are great for rotating promotions, educating customers about products, and showcasing limited-time offers. Consider total cost (hardware, content creation, power, and maintenance) and choose screen sizes that match viewing distance — too small and they’re ignored.
Q5: Can a tobacco display stand be repurposed for other products?
A5: Yes. Modular designs with interchangeable graphics and adjustable shelves are ideal for repurposing. Swapping in new panels, changing shelf spacing, or replacing dividers allows a fixture to host non-tobacco accessories or seasonal items when needed — helpful for flexible inventory strategies.
When you attend the Canton Fair, finding a nearby factory or manufacturer (like Modernty Display Products Co., Ltd.) is quite easy if you plan ahead and use the right tools. Here’s a step-by-step guide:
1. Before the Fair: Do Some Research
- Use the official Canton Fair website (https://www.cantonfair.org.cn/) to check the exhibitor list. You can search for factories by category or location (for example: “display stand manufacturer in Zhongshan”).
- For Modernty Display Products Co., Ltd., note that the factory is in Zhongshan, Guangdong Province, which is about 1.5–2 hours’ drive from Guangzhou — very convenient for a visit after the fair.
2. During the Fair: Visit the Relevant Exhibition Area
- The Canton Fair has different phases depending on the product type:
- Phase 2 usually covers consumer goods, gifts, and home décor — where display stands and promotional products are often exhibited.
- Visit booths that match your interest (like display racks, promotional materials, or acrylic products) and collect catalogues and business cards.
- Ask exhibitors directly if their factory is nearby and whether they can arrange a site visit after the fair.
3. After the Fair: Arrange a Factory Visit
- If you’re interested in Modernty Display Products Co., Ltd., you can easily visit their factory in Zhongshan:
- Travel Options:
- By car or taxi: around 1.5–2 hours from Guangzhou city center.
- By train: Guangzhou South Station → Zhongshan Station (about 45 minutes) + taxi to the factory.
- Contact them in advance to schedule a visit so they can arrange a tour and product demonstration.
- Travel Options:
4. Tips for Visiting Factories
- Bring your business card and clear product specifications.
- Take photos or notes during your visit for comparison.
- Discuss MOQ (Minimum Order Quantity), customization, delivery time, and shipping directly.
- If possible, record product samples or design ideas for reference.
Example Contact Information (Modernty Display Products Co., Ltd.)
- Founded: 1999
- Location: Zhongshan, Guangdong, China
- Main Products: Acrylic, metal, and wooden display stands; promotional display items (banners, flag poles, tents, etc.)
- Experience: Over 25 years, with clients such as Haier and Opple Lighting.
Previous Article
Advantages of Cardboard Book Display Stands
Next Article
What does POP mean in retail?
Trusted by These Featured Clients